This document aims to be a reference for the basic Google Play Console usage, the console that manages everything related to publishing Applications through Google Play Store.
Development Acount Creation
Requirements
- Posses a Google Account, the one that will be paired with the Google Play Console.
- A one time payment of US$ 25, which can be made with either Credit or Debit Card.
Sign Up
- Access the Google Play Console website.
- If not currently logged to the Google account, do so.
- When already logged in, you arrive at the Sign Up screen. One is now prompted to complete 4 intuitive steps:

- The first step is already taken by being logged into a Google Account.
- The second step only requires accepting Terms & Conditions.
- Accepting said Conditions triggers the third step which requires input of a payment method for the 25 US$ one time payment. The receipt is sent by the Google Payment team through a mail.
- The fourth step requires input of Contact data and Developer name.
- Once the Sign Up process is finished, the Google Account is linked to this Console. We arrive at the Dashboard of the Google Play Console.
Inviting Users
Step by step
- In the main Dashboard of the Google Play Console click on .
- A menu will unfold under the title Developer Account. Inside it, select Users & Permissions.
- The "Invite New User" button displays a dialog through which we can invite another user whose Email is set in the field.
- The permissions are grouped under these categories:
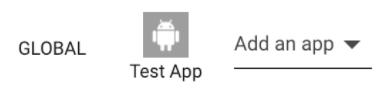
- GLOBAL - Grants permissions at Account Level. The user will be able to exercise the permit across all the applications created by this account.
- Application - As an example, Test App. The user will be able to exercise the permit only in this application.
- Add an app - Register a new category for an existing application linked to this Account. The permissions under this category are at Application Level.
- The Role field allows choosing a set of predefined permissions. They are:
- Administrator - Control at a Global Level.
- Release Manager - Granted every permission except user management and financial data management. Can impact everything related to the Apps but not the users for this Account.
- Product Lead - Same permissions as Release Manager except replying to Google Play Store reviews.
- Finance - Possesses only the power to see the Applications and their financial information.
- Customer Service - Possesses the power to answer Google Play Store reviews and, view and refund payments.
- Read Only - Only able to view the list of Applications.
- Customizing a permission, having selected a Role, sets the Role field to Custom.
Chosing Permissions & Profile
To make this choice, first one has to define what role the invited user will play. Here are the most common cases:
- When the owner wants to delegate full control of the account, select Administrator.
- When the owner wants to keep control of who dwells inside the account but wants to deleage everything related to Apps Management, select Release Manager or Product Lead. To pick between these two, the only thing to consider is whether you want this user to answer reviews or not.
This is the level of permissions you have to grant Wolox in order for us to manage the application. - Finance, Customer Service y Read Only have particular use cases easy to grasp.
- Custom enables granularity for the selection of permissions that are granted to each user. To do so responsibly, you must have knowledge on the reach of each permission. For a simple description, look for a at the end of the items’ names.
Application Creation

- In the Applications screen, click "Create Application", fill in the fields y finally Create.
- We arrive at the Application - Store Listing. Here we can alter several fields, some of which are mandatory for app publishing. Take into account that most of these are shown to the end users in the Detail screen of the Application on the Google Play Store listing.
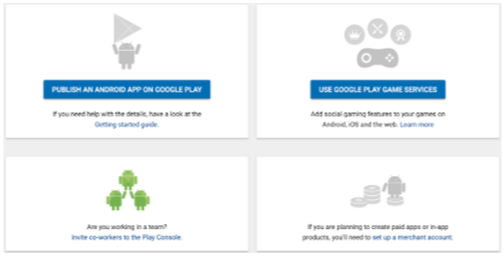
- Having done all these, the Application is created! Google Play Console has a vast collection of tools and options to fine tune every aspect related to the relationship between Applications and the Google Play Store. For a tour of the site, check this resource put together by the Google Play team. We also recommend reading the official Launch Checklist of Android.
